Keurig Coffeemaker Cuisinart Keurig Single-Cup BrewerCuisinart Keurig Single-Cup Brewer User Manual
-

4.7
Owner's of the Keurig Coffeemaker Cuisinart Keurig Single-Cup BrewerCuisinart Keurig Single-Cup Brewer gave it a score of 4.7 out of 5. Here's how the scores stacked up:

10
Brewing
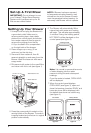
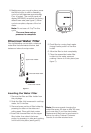
1. The control panel will display OPEN
HEAD while in idle mode.
2. Place a cup or mug on the drip tray.
The drip tray can be removed to
accommodate travel mugs.
3. Lift the handle. The brewing chamber
will open toward you.
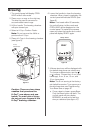
4. Select a K-Cup
®
Portion Pack
®
.
Note: Do not remove the foil lid or
puncture the K-Cup
®
.
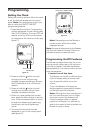
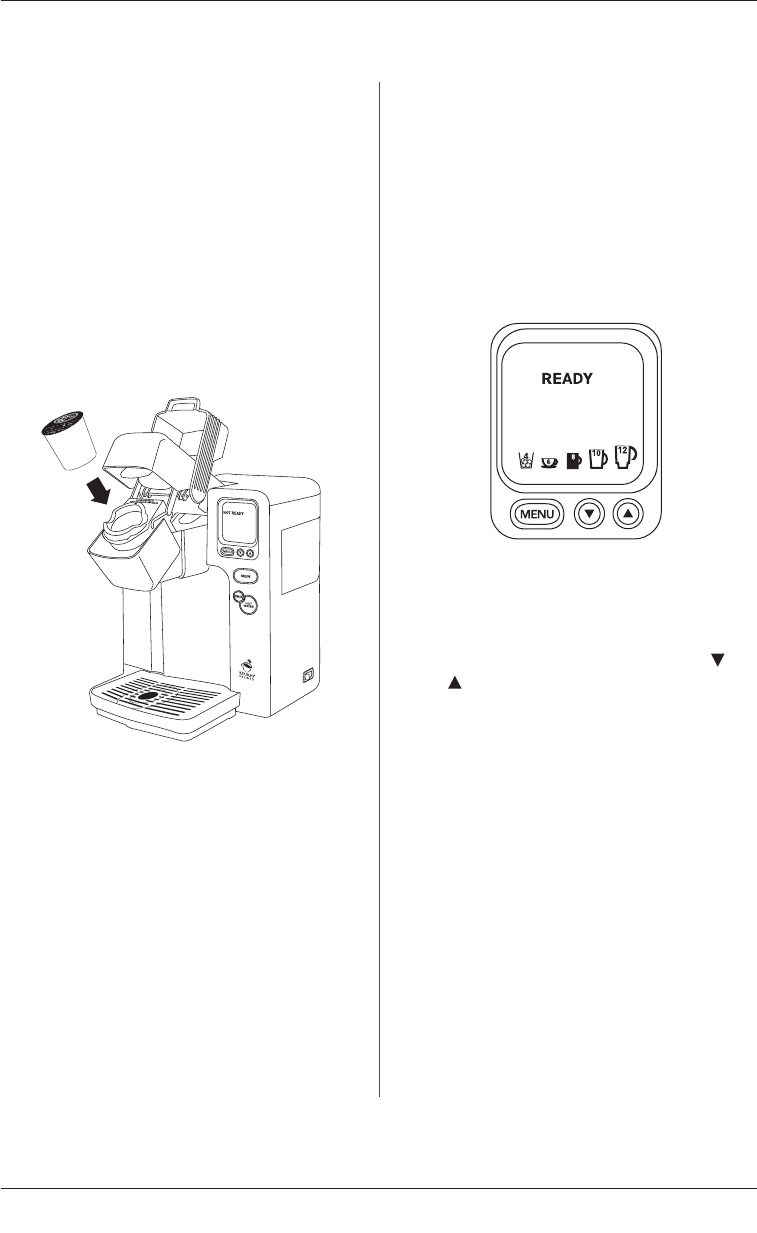
5. Place a K-Cup
®
in the brewing chamber
(see figure 8).
Caution: There are two sharp
needles that puncture the
K-Cup
®
, one above and one
below. To avoid risk of injury,
do not put your fingers in the
K-Cup
®
brewing chamber.
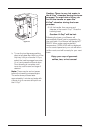
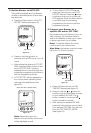
6. Lower the handle to close the brewing
chamber. When closed completely, the
control panel will indicate READY (see
figure 9).
Note: If not used within 60 seconds,
the unit will return to Idle mode and
OPEN HEAD will be displayed on the
control panel. To restart the process,
open and close the handle and control
panel will display READY again.
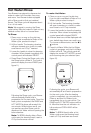
7. All brew size icons will be displayed with
the default size shown as a solid mug.
To choose a different size, use the
or
buttons. Choose from 4-oz. (iced
beverage), 6-oz., 8-oz., 10-oz., and
12-oz. brew sizes.
Note: The 8-oz. serving is the factory-
set default brew size. To program your
favorite brew size, see Programming
Your Brew Size on page 18.
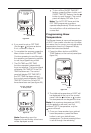
a. Once a size is chosen, press Brew.
Only the Brew button will be lit. The
control panel will now display
BREWING, as well as the serving
size you selected (see figure 10).
figure 8
figure 9
K-Cup
Portion Pack
Ready Mode


Find Your Products By Category
Please Login
