
0
Owner's of the Cuisinart Blender CSB-78 gave it a score of 0 out of 5. Here's how the scores stacked up:


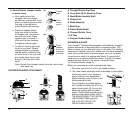

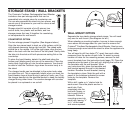
STORAGE STAND / WALL BRACKETS
The Cuisinart
®
Cordless Rechargeable Hand Blender
includes a two-part storage stand that can be
assembled into a single piece for countertop use.
You can also separate the stand into two pieces, and
mount one of the pieces to your wall to use as a wall
storage bracket.
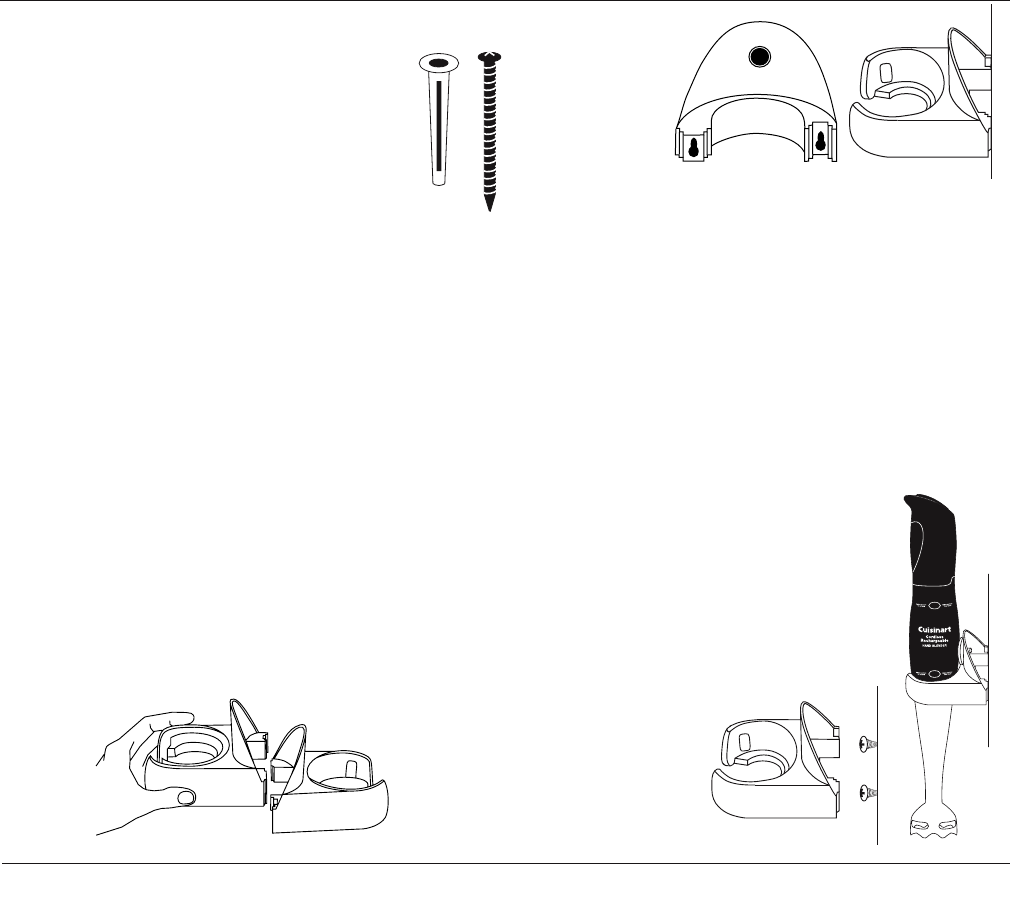
Storage stand kit consists of six (6) pieces: two
anchor bolts, two plastic wall anchors, and two
storage pieces that can fit together for countertop,
or be separated for wall mount.
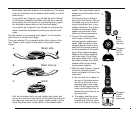
COUNTERTOP OPTION
The two storage pieces fit together. (See diagram below.)
Align the two pieces back to back on a flat surface, with the
ring-shaped reservoirs facing right and left. The raised walls
should be in the middle. Lift up the right piece; align the two
tabs in the back with the two slots of the left piece. Gently slide
the tabs into the slots until both pieces are resting flat on the
countertop.
To store the hand blender, detach the shaft and place the
bottom part (blade guard) into one of the reservoirs. Place the
motor body (right side up) into the other reservoir. You should
be able to read the Cuisinart
®
logo when the motor body is in
the stand.
The charger handle can be attached to the motor body when
you store the unit. This is especially helpful when you want the
hand blender close at hand during a period of heavy use. Plug
the charger handle into the electrical socket to keep the battery
charged during other times. The counter storage unit can also
be placed in a cupboard or on a shelf.
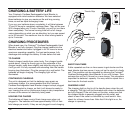
WALL MOUNT OPTION
Separate the two plastic storage stand pieces. You will need
only one for wall mount. (See diagram on left.)
When selecting a mounting location, be sure to leave enough
room above the storage stand for your hand to remove the
Cuisinart
®
Cordless Rechargeable Hand Blender. Also be sure
to leave enough room below the stand to allow the appliance to
hang freely.
You will need to drill two holes 2
2
/
3
" apart from each other,
measured from the center of each hole. To assist in proper
location of holes for the mounting screws, remove the wall
mount template from this instruction book (page 13). Place the
template over the back of the wall unit, aligning the outline of
the template with the wall bracket. When
you have done this, place the template and
wall bracket against the wall in the desired
location. Remove the wall bracket, leaving
the template in place. Mark the wall with a
pencil in the locations indicated for screw
holes by the template. Remove the
template.
With a drill, make a
3
/
16
" starter hole for
each screw. Place the plastic anchor in
each hole. Push
completely into the
hole with fingers, or
tap in gently with a
hammer. Screw a
mounting screw into
each hole, leaving
1
/
8
"
to ¼" of the head
and screw exposed.
11


Find Your Products By Category
Please Login
