ENglIsh
15
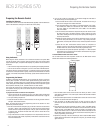
Programming Remote Control “Punch-Through” Commands
After programming the remote to control an auxiliary (Aux) component, you can also
program it so it will control the Aux component’s channel up/down and transport
functions (Play, Pause, etc.) even when the remote is not in the Aux-control mode. For
example, if the remote is programmed to operate your TV in the Aux control mode, you
can also have the TV’s channel +/– functions “punch through” and operate even when
the remote is in the Disc, Radio or iPod control modes.
1. Press and hold the Input button for the main device the remote will be operating. The
button will light up, go dark and then light up again. Release the button.
2. Select the type of punch-through programming.
a) For “punch-through” channel control, press the Channel Up button.
b) For “punch-through” transport control, press the Play button.
3. Press the Aux button. The original Input button will flash to confirm.
You can repeat Step 1 – Step 3 for any of the remote’s Input buttons (Aux, Radio, etc.).
NOTE: “Punch-through” channel and transport commands will override the existing
commands for those buttons in the source modes you program.
To undo “punch-through” programming, follow the same steps as above, but press the
same Input button in Step 1 and Step 3.
Erasing All Learned Button Codes
1. Press and hold the Options button for more than three seconds. The remote’s Aux
Input button will light up.
2. Press the Aux Input button. The button will flash.
3. Hold down the “9” number button for at least three seconds, three times in a row.
The Aux Input button will flash three times then will go out. All learned button codes
have now been erased.
Resetting the Remote to Factory Default Condition
1. Press the Aux Input button and the “0” number button simultaneously. The Aux
button will light up.
2. Hold down the “3” number button for at least three seconds, three times in a row. All
of the input buttons will flash three times.
3. After the input buttons stop flashing, all remote programming has been erased and
the remote is reset to its factory default programming.
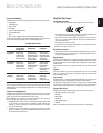
Using the Remote After it is Programmed
Pressing the remote’s Aux Input button will put the remote into the auxiliary-control
mode, and it will control the auxiliary component(s) via the codes you have programmed
into it.
To switch the remote back to the BDS receiver-control mode from the auxiliary-control
mode, press any of the other Input buttons or the Home button.
Setting Up the Receiver
NOTE: The menu screens shown in this manual are for illustrative purposes and may
differ somewhat from the actual displays.
To set up your BDS receiver, you will use the remote to navigate through all of the on-
screen menus and to make selections from them.
• Use the Cursor Up/Down buttons to navigate through the menu list. When an item is
highlighted, a blue border will appear around it.
• To select a highlighted item, press the OK button. The screen will change depending
on your selection.
• To return to the previous screen, press the Previous button.
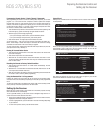
Setup Wizard
When you turn your BDS receiver on for the first time, the on-screen menu will display
the Setup Wizard.
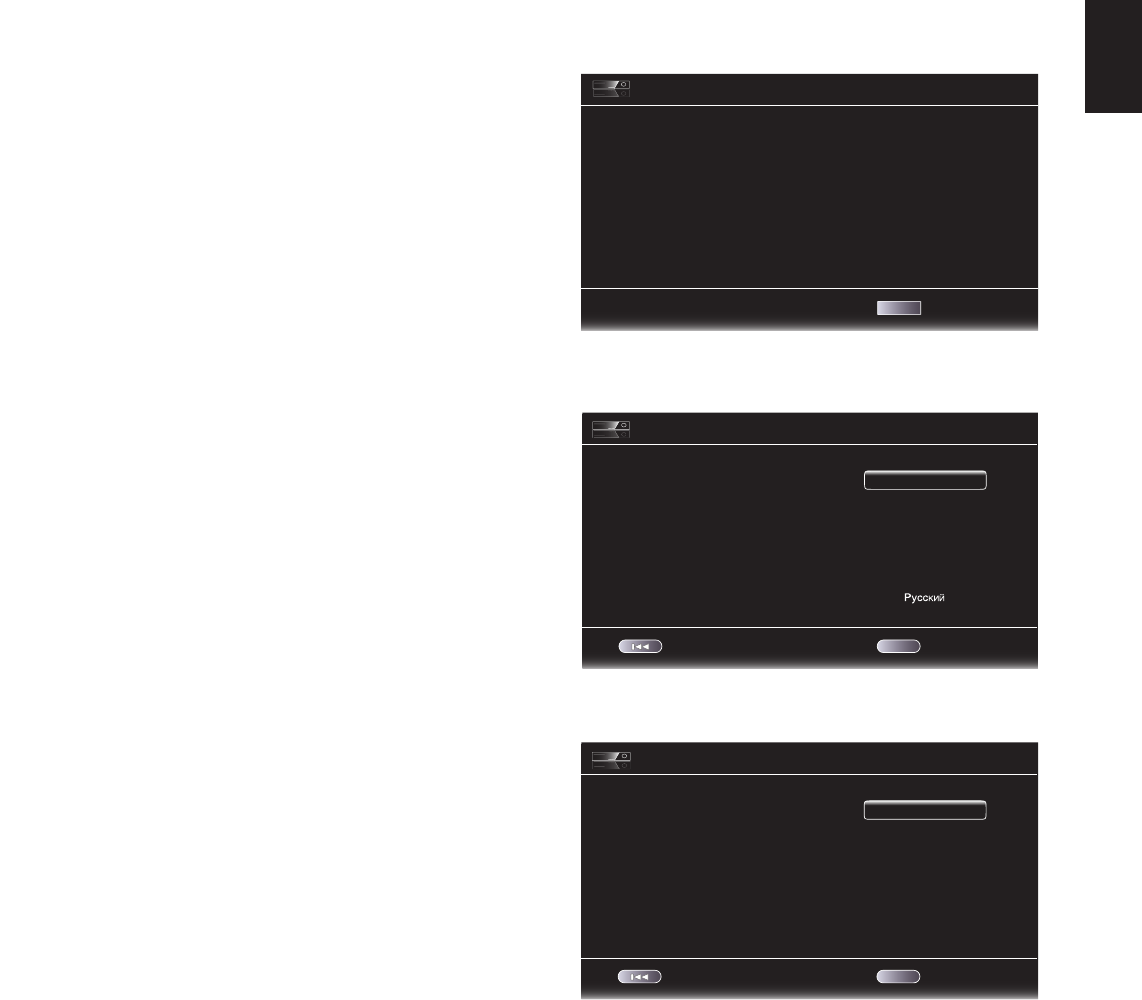
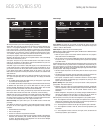
Setup Wizard Page: 1/5
Next
Welcome to the Harman/Kardon BDS Setup
Wizard.
Some simple information is needed to ensure
you get the best experience from your product.
You can adjust these settings later in addition
to making changes to more advanced settings
by selecting ‘Settings’ from the Home Menu.
OK
Before you can use your BDS receiver, you need to set the language and make a few
basic settings so that its video output will work properly with your TV. Press the OK
button and the Wizard’s language screen will appear.
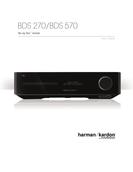
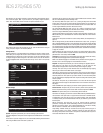
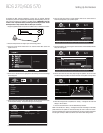
Setup Wizard
Page: 2/5
Next
Please select which language you would like
the BDS menus to appear in.
OK
Previous
English
Español
Français
Deutsch
Italiano
After setting the language you want the on-screen menus to appear in, press the OK
button and the Wizard’s TV-resolution screen will appear.
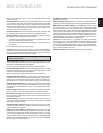
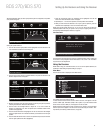
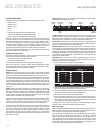
Setup Wizard
Page: 3/5
Next
Please select the highest resolution that your TV
supports. If you are unsure, select ‘Auto’.
Upon making a selection the screen will be
changed to the chosen resolution. You will be
presented with the option to continue with the new
resolution or ‘Cancel’ to return to the previous
resolution. If the screen remains blank, please wait
15 seconds without pressing anything and the
system will automatically return to the previous
resolution.
OK
Previous
Auto
480p/576p
720p
1080i
1080p
Preparing the Remote Control and
Setting Up the Receiver
BDS 270/BDS 570